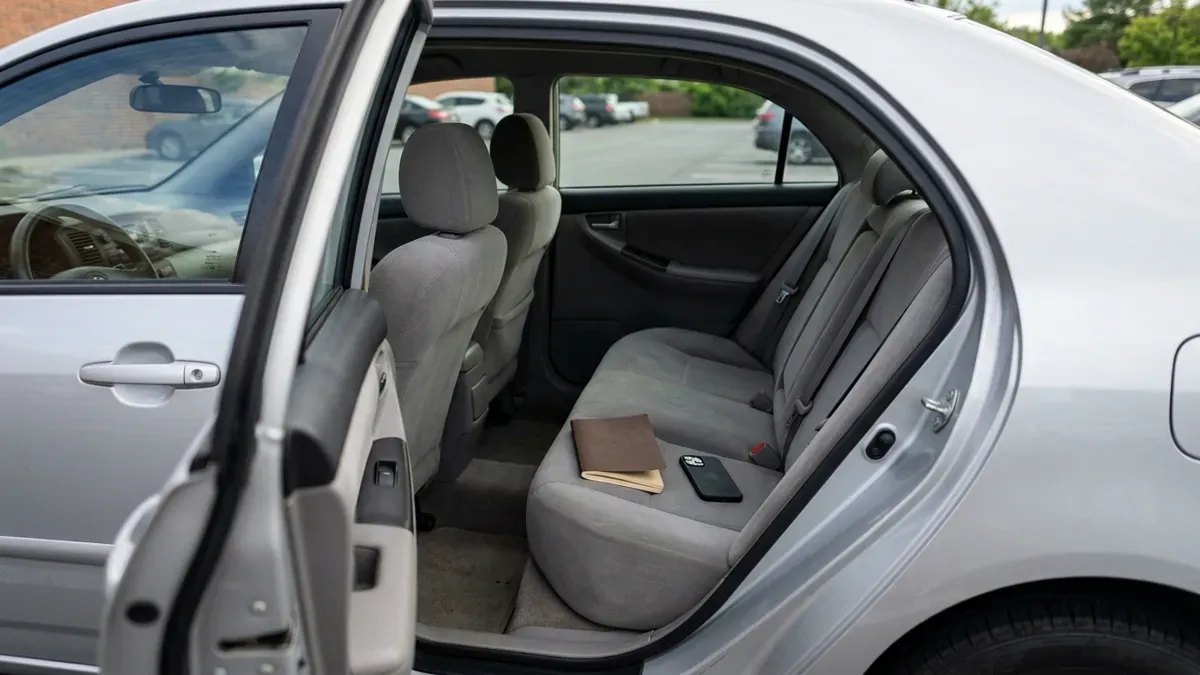
You land, the shuttle runs late, and the rental counter hands you keys to a car you’ve never seen. The car seat is in the cart and the kids are tired. This checklist covers how to install a car seat in a rental car as a seven-step routine, built on guidance from NHTSA, the U.S. government’s road-safety agency, and on the manuals that come with your seat and the vehicle. It is researched, not personally tested.
Table of Contents
Before You Leave Home: Four Things to Bring
A little preparation helps. Spend ten minutes at home on these four items before you travel.
- Your car seat’s manual. Keep a paper copy in the bag with the seat, or save the manufacturer’s PDF on your phone, since NHTSA says to read the car seat’s instruction manual.
- The date of manufacture and model number. They’re on the seat’s labels. NHTSA’s used car seat checklist, written for second-hand seats, says you need this information to check for recalls and to find out whether a seat is too old, so photograph the label.
- A note of the seat’s mode. Write down how your seat is set up, such as rear-facing or forward-facing and which belt path it uses, so you don’t have to guess in a parking lot.
- A way to look up an owner’s manual. A phone with a signal usually works. If the rental car doesn’t have its manual, you’ll need to find the manufacturer’s version online.
None of these four items needs special equipment. They save the most time when the car you get isn’t the one you expected.
Step 1: How to Install a Car Seat in a Rental Car Starts at the Counter
At a rental counter you rarely know the exact car until you’re standing next to it. Ask for the make, model, and year of the vehicle you’re getting, and write them down before you leave the desk. Everything else in this checklist depends on the car, because NHTSA notes that every car seat and vehicle is different and that it’s important to follow all instructions carefully.
If the car isn’t what you expected, check its details again before you start the install.
Step 2: Read Both Manuals Before You Touch the Seat
NHTSA’s installation tips say to read the car seat’s instruction manual and the car seat section of the vehicle’s owner’s manual. You need both, because the seat’s manual explains how the seat installs, and the vehicle’s manual explains what the car allows, such as which seating positions have anchors and how its seat belts lock.
Your own seat’s manual is simple to bring along. The vehicle’s manual is the harder one in a rental. We can’t tell you where each rental company keeps it, so check the car, and if it isn’t there, look for the manufacturer’s online owner’s manual for the exact make, model, and year you wrote down in Step 1.
Step 3: Choose Lower Anchors or the Seat Belt
NHTSA says every car seat must be installed with either the lower anchors or the vehicle seat belt. It also says that if you use the seat belt, you should pay close attention to how to lock it in the vehicle owner’s manual. A seat belt may lock differently from the one in your own vehicle, which is a good reason not to rely on memory.
Write down which method you used, lower anchors or seat belt, and where the tether anchor was, so you can start from the same notes when you reinstall in another car. Don’t assume the rental has the same anchor locations as your car. The owner’s manual shows where the lower anchors and tether anchors are, and your seat’s manual says whether it can use them in that position. If the two don’t agree, ask a technician before you choose, and see our common car seat installation mistakes guide for the errors that come up most often.
Step 4: Pick a Seating Position Both Manuals Allow
NHTSA’s guidance is to place the seat in the back seat of the vehicle and follow the manufacturer’s directions. In a rental, the position also has to work with the car’s layout, such as whether the buckles sit close to your seat. Our guide to buckling car seats too close together explains the fixes when buckles are hard to reach.
If you’re traveling with more than one child, remember that a layout that works in your own vehicle may not work in the rental. Our 3 car seats across guide covers how to measure a row before you commit to a layout.
Step 5: Connect the Tether and Check the Recline
For a forward-facing seat with a tether strap, NHTSA says to connect it to the tether anchor and tighten it, and calls this step very important because it limits forward head movement in a crash. For a rear-facing seat, it says to make sure the seat is installed at the correct recline angle, and notes that most seats have built-in angle indicators or adjustors.
Rental cars add one practical question: where the tether anchor is. The owner’s manual shows it, and it can differ from your own car. If you’re unsure which kind of seat you have or how it should face, our infant vs convertible car seat guide explains how the two types differ, and your seat’s manual sets the limits.
Step 6: Test the Install Before You Leave the Lot
NHTSA says the seat must be secured tightly in the vehicle. When you pull at the belt path, it should not move side to side or front to back by more than 1 inch. Test it in the parking space, not at the first red light.
If it moves more than that, go back to the manuals and check the belt routing, how the belt locks, and where the anchors are. Don’t force a layout that the manuals don’t allow, and ask a technician if it still won’t work.
Step 7: Get It Checked, and Take Everything Out Before You Return the Car
NHTSA says trained Child Passenger Safety Technicians can help, and that many local fire and police stations offer free car seat inspections. If the install feels uncertain, that’s who to ask. Bring your notes from Steps 1 to 3, plus the photos of your seat’s labels, so the technician can see which seat, which vehicle, and which method you used.
When the trip ends, take the seat out and check the seat, floor, and seat gaps before you return the car, since small parts and snacks end up in surprising places. If you reinstall the same seat in your own vehicle at home, run the checklist again for that car.
Traveling With Kids and Luggage: Plan for the Extra Time
A rental pickup rarely goes at the pace you planned. Allow more time than the install takes at home, because you’ll be reading a manual for a car you’ve never seen, with luggage and tired children nearby. If another adult is traveling with you, split the jobs: one reads the manuals while the other handles the bags and children.
Plan the install before the luggage goes in the trunk, since a loaded back seat or a full trunk can make a tight space tighter. If the rental has a smaller back seat than your own car, our sedan fit guide shows how to compare a seat’s width with a row. And if the install feels uncertain at any point, use the inspection option in Step 7.
Questions About Installing in a Rental Car
Is it better to bring my own seat or use one from the rental company?
We don’t give a safety verdict either way. If you use a seat you didn’t buy, NHTSA’s used car seat checklist, written for second-hand seats, is the nearest official guidance: it asks for no moderate-to-severe crash history, labels with the date of manufacture and model number, no recalls, all parts, and the instruction book. Our car seat expiration date guide explains how to read the date of manufacture.
Does every rental car have lower anchors?
Don’t assume so. The owner’s manual shows whether a position has lower anchors and tether anchors. If you can’t find the information, use the seat belt method your seat’s manual allows and ask a technician if you’re unsure.
What if the seat won’t fit?
Go back to both manuals and check the position, the belt routing, and the recline. If it still doesn’t work, ask a technician, and don’t use a layout that the manuals don’t allow.
This is general product research, not a substitute for your car seat’s manual, your vehicle owner’s manual, or a car seat inspection. Follow each manual, and a certified technician can help check the installation.
This post may contain affiliate links. If you purchase through one of these links, we may earn a small commission at no extra cost to you.
By The 4 Kids Dad · Updated October 6, 2026. Parent of 4 kids, including newborn twins. Sources: NHTSA’s Car Seat Installation Tips and Used Car Seat Safety Checklist pages.
Leave a Reply